rabbitmq 整合springboot
发布时间:
更新时间:
🕒 阅读时间:3 min read
👀 阅读量:Loading...
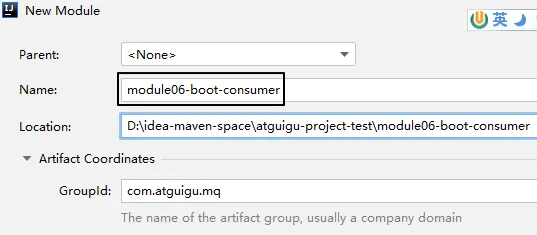
1、消费者工程
①创建module
②配置POM
<parent>    <groupId>org.springframework.boot</groupId>    <artifactId>spring-boot-starter-parent</artifactId>    <version>3.1.5</version></parent>
<dependencies>    <dependency>        <groupId>org.springframework.boot</groupId>        <artifactId>spring-boot-starter-amqp</artifactId>    </dependency>    <dependency>        <groupId>org.springframework.boot</groupId>        <artifactId>spring-boot-starter-web</artifactId>    </dependency>    <dependency>        <groupId>org.projectlombok</groupId>        <artifactId>lombok</artifactId>    </dependency></dependencies>
③YAML
增加日志打印的配置:
spring: rabbitmq: host: 192.168.200.100 port: 5672 username: guest password: 123456 virtual-host: /logging: level: com.atguigu.mq.listener.MyMessageListener: info④主启动类
仿照生产者工程的主启动类,改一下类名即可
package com.atguigu.mq;
import org.springframework.boot.SpringApplication;import org.springframework.boot.autoconfigure.SpringBootApplication;
@SpringBootApplicationpublic class RabbitMQConsumerMainType {
    public static void main(String[] args) {        SpringApplication.run(RabbitMQConsumerMainType.class, args);    }
}
⑤监听器
package com.atguigu.mq.listener;
import lombok.extern.slf4j.Slf4j;import com.rabbitmq.client.Channel;import org.springframework.amqp.core.Message;import org.springframework.amqp.rabbit.annotation.Exchange;import org.springframework.amqp.rabbit.annotation.Queue;import org.springframework.amqp.rabbit.annotation.QueueBinding;import org.springframework.amqp.rabbit.annotation.RabbitListener;import org.springframework.stereotype.Component;
@Component@Slf4jpublic class MyMessageListener {
    public static final String EXCHANGE_DIRECT = "exchange.direct.order";    public static final String ROUTING_KEY = "order";    public static final String QUEUE_NAME  = "queue.order";
    @RabbitListener(bindings = @QueueBinding(            value = @Queue(value = QUEUE_NAME, durable = "true"),            exchange = @Exchange(value = EXCHANGE_DIRECT),            key = {ROUTING_KEY}    ))    public void processMessage(String dateString,                               Message message,                               Channel channel) {        log.info(dateString);    }
}
2、@RabbitListener注解属性对比
①bindings属性
- 表面作用:
- 指定交换机和队列之间的绑定关系
- 指定当前方法要监听的队列
- 隐藏效果:如果RabbitMQ服务器上没有这里指定的交换机和队列,那么框架底层的代码会创建它们
②queues属性
@RabbitListener(queues = {QUEUE_ATGUIGU})- 作用:指定当前方法要监听的队列
- 注意:此时框架不会创建相关交换机和队列,必须提前创建好
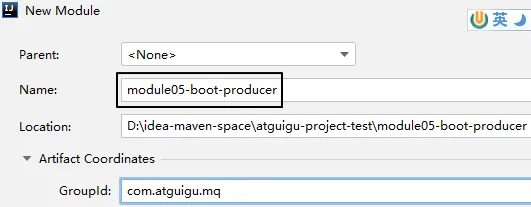
3、生产者工程
①创建module
②配置POM
<parent>    <groupId>org.springframework.boot</groupId>    <artifactId>spring-boot-starter-parent</artifactId>    <version>3.1.5</version></parent>
<dependencies>    <dependency>        <groupId>org.springframework.boot</groupId>        <artifactId>spring-boot-starter-amqp</artifactId>    </dependency>    <dependency>        <groupId>org.springframework.boot</groupId>        <artifactId>spring-boot-starter-test</artifactId>    </dependency></dependencies>
③YAML
spring: rabbitmq: host: 192.168.200.100 port: 5672 username: guest password: 123456 virtual-host: /④主启动类
package com.atguigu.mq;
import org.springframework.boot.SpringApplication;import org.springframework.boot.autoconfigure.SpringBootApplication;
@SpringBootApplicationpublic class RabbitMQProducerMainType {
    public static void main(String[] args) {        SpringApplication.run(RabbitMQProducerMainType.class, args);    }
}
⑤测试程序
package com.atguigu.mq.test;
import org.junit.jupiter.api.Test;import org.springframework.amqp.rabbit.core.RabbitTemplate;import org.springframework.beans.factory.annotation.Autowired;import org.springframework.boot.test.context.SpringBootTest;
@SpringBootTestpublic class RabbitMQTest {
    public static final String EXCHANGE_DIRECT = "exchange.direct.order";    public static final String ROUTING_KEY = "order";
    @Autowired    private RabbitTemplate rabbitTemplate;
    @Test    public void testSendMessage() {        rabbitTemplate.convertAndSend(                EXCHANGE_DIRECT,                ROUTING_KEY,                "Hello atguigu");    }
}
rabbitmq 整合springboot
本文链接: https://oxai.net.cn/posts/1b7ea0d9
本文采用 知识共享署名-非商业性使用-相同方式共享 4.0 国际许可协议 进行许可。
留言评论